How to add your logo to all of your videos!
Easy

- Run VirtualDub-1.86
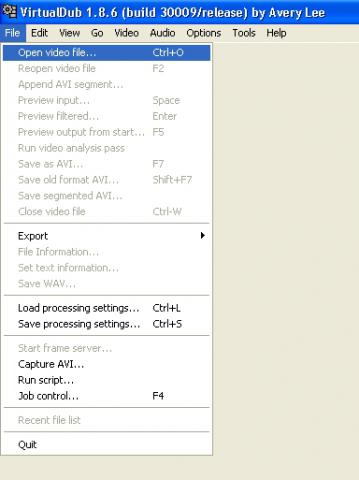
- Open Your video [ctrl+O]

- Go to the menù: Video / Filters [ctrl+F]

- With the Filters windows opened ( popup ) click on "add" and than choose this
* Logo (1.7b2) by Donald Graft *
At this point another windows popup.. it's time to make same settings:
- Choose your logo clicking on "browse"

- Make a click on "Show preview"

- Starting Frame = the number of the frame to start show your logo
- Duration = the total duration of your logo ( this mean.. how much frame the logo is visible )
- Loops = used only for animated logo ( a bmp sequence.. a little bit complicated gh )
- Opacity = the opacity for your logo ( 255 is total and complete visible )
- Fade - In Len = number of frames used for the fade in
- Fade - Out End = last frame for the fade
- Fade - Out Len = number of frames used for the fade-out
In our case:
* Duration = 500 ( frames )
* Y coordinates = 181
* Fade - In Len = 10
* Fade - Out End = 500
* Fade - Out Len = 10![]()
Make a click on "ok" to came back on the Filters windows.
Make another click to save our changes!![]()
To save the new video we must encode him, than we must made some other setting for the "video" and "audio".
- Go on Audio / full processing mode

- an than on Audio / Compression

- Choose a confguration for you audio
I choose this for my video
Now we must do something similar for the video...
- Go on Video / full processing mode

- an than on Video / Compression

- And now You must choose your codec video
I have choose the Xvid codec
Go to the main menù and choose: File / Save as Avi [F7] to encode your new video with your logo ^_^![]()
End ;)
by
Kain The Supreme.