Semplice cornice per foto - 003 / Simple Photo Frame - 003
Facile - Easy

Questo/a opera è pubblicato/a sotto una Licenza Creative Commons.
VIDEO:
- Aprite l'immagine che volete trasformare ( vi suggerisco di fare un back ).
Open the image that you want to convert (I suggest you make a back). - Create una selezione nella porzione di immagine che volete evidenziare.
Make a selection in the portion of the image that you want to highlight.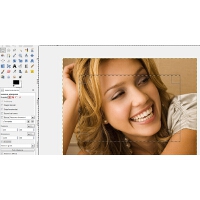
- Create un nuovo livello chiamatelo "L1"; Ora andate su: Seleziona / Inverti.
Make a new layer and call it "L1"; Now go on: Selection / Invert.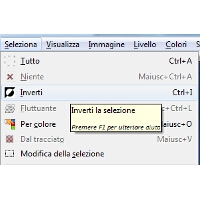
- Riempite la selezione con il colore bianco.
Fill the selection with white.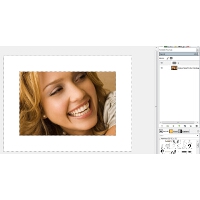
- Lavoriamo sempre su "L1"; Ora andate su: Seleziona / Inverti.
We are working on "L1" layer; Now go on: Selection / Invert.
- Ora andate su: Seleziona / Riduci.
Now go on: Selection / Shrink.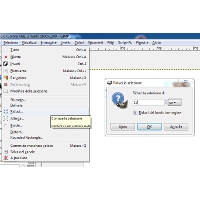
- Ora andate su: Seleziona / Inverti.
Now go on: Selection / Invert.
- Ora andate su: Filtri / Sfocature / Gaussiana.
Now go on: Filter / Blur / Gaussian Blur.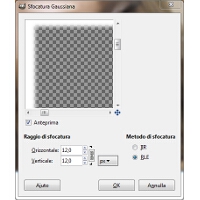
- Ora andate su: Filtri / Sfocature / Effetto Pixel.
Now go on: Filter / Blur / Pixelise.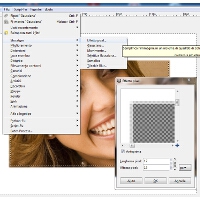
- Ora andate su: Seleziona / Niente; Settate il livello su "Colore".
Now Go on: Selection / None; Sett this layer as "Color".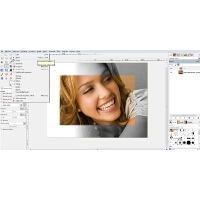
- Duplicate il "L1" e rinominatelo in "L2", settatelo su "differenza".
Make a copy of the layer named "L1" and call it "L2", set it as "difference".
Final Result
Ecco il risultato finale - Ecco the Resulting Image.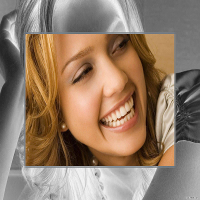
Gimp XCF
Potete scaricare il file originale per il Gimp ( XCF ) da questo link:
You can download the original Gimp File ( XCF ) from this link:

