Gimp
GIMP (GNU Image Manipulation Program) è un software libero multipiattaforma per l'elaborazione digitale delle immagini.
Fra i vari usi possibili vi sono fotoritocco, fotomontaggio, conversioni tra molteplici formati di file, animazioni (ad esempio in formato GIF), e processamento in batch in linea.
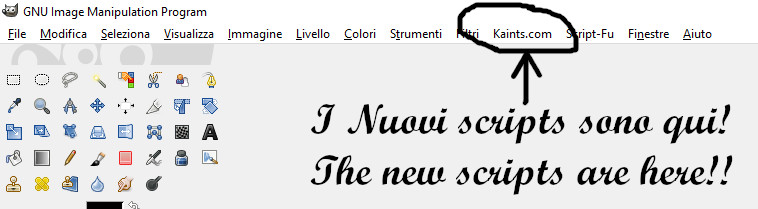
In questa pagina sono presenti i links ad alcune risorse create da me, nello specifico degli scripts e dei tutorials.